
**Short version:** one command adds a server, one flag decides who gets it, and one panel handles logins. Every command below is taken from Anthropic's Claude Code MCP documentation, checked in September 2026.
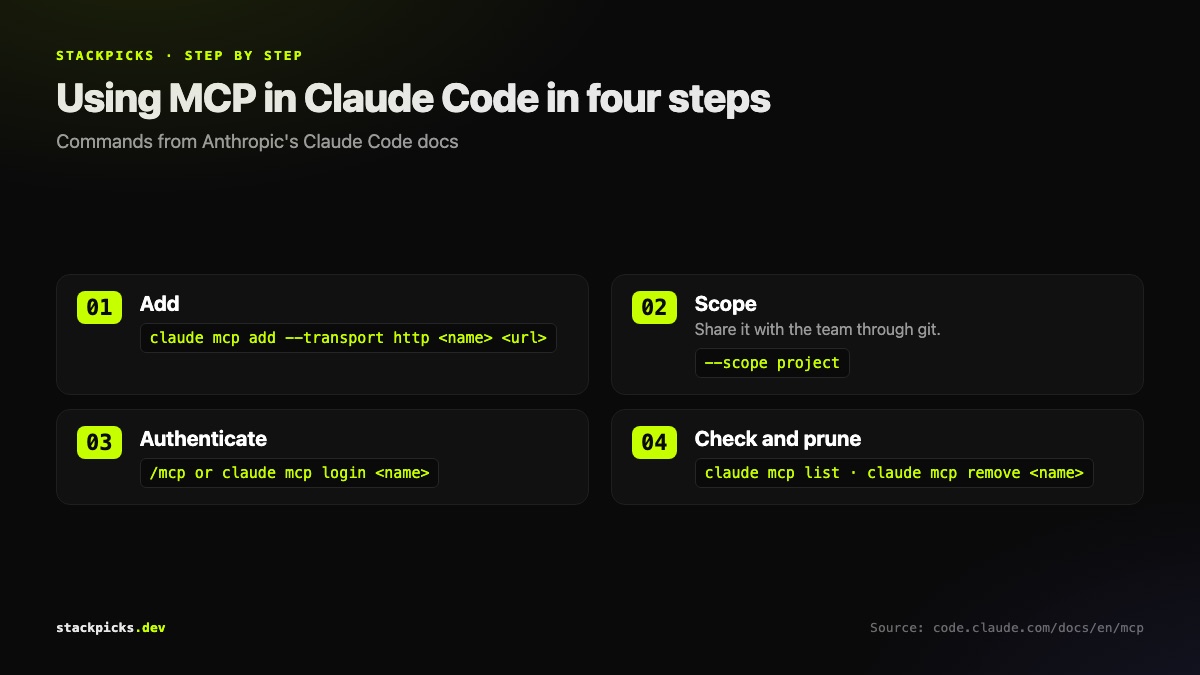
Step 1: Add the server
Remote servers are the easy case. Give the transport, a name and the URL:
claude mcp add --transport http notion https://mcp.notion.com/mcpLocal servers run a command on your machine. The double dash is required: Claude Code's options go before it, and everything after it is passed to the server untouched.
claude mcp add --env API_KEY=your-key --transport stdio myserver -- npx -y some-mcp-serverStep 2: Choose the scope
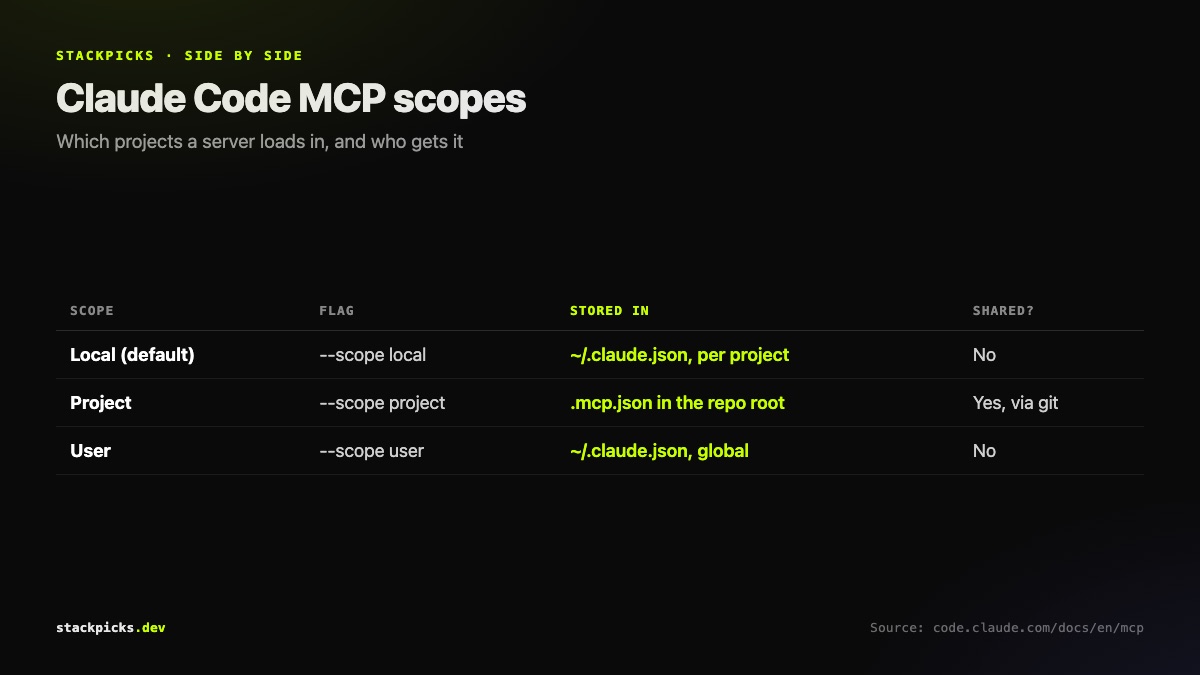
- Local (default): only you, only this project. Stored in
~/.claude.json. - Project: everyone who clones the repo. Stored in
.mcp.jsonat the repository root, so commit it. - User: only you, every project. Stored in
~/.claude.json.
Add --scope project or --scope user to the add command. Personal daily tools belong at user scope; team tools at project scope.
Step 3: Authenticate
Remote servers that use OAuth need a one-time login:
- Inside a session: run
/mcpand follow the browser flow. - From the terminal: run
claude mcp login <name>. - Over SSH: add
--no-browserand open the printed URL on your own machine. - To sign out:
claude mcp logout <name>.
For servers that expect a static token, pass it as a header instead: --header "Authorization: Bearer your-token".
Step 4: Check, and prune
claude mcp list
claude mcp get <name>
claude mcp remove <name>
Prune regularly. Every connected server's tool definitions load into every request, which is a common reason people end up searching for how to reduce Claude Code token usage.
Which servers to start with
Start with three or four you will use weekly: GitHub, a documentation server such as Context7, and a browser server. Our shortlist of the best MCP servers for Claude Code has verified install commands for each, and the MCP directory lists 110.